
Application Instructions
Expert Labels, Expert Application
Shop Application Tools
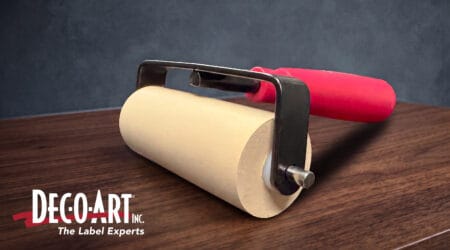
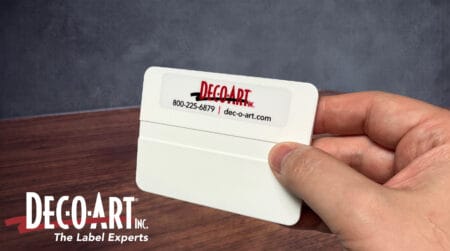
Get the same squeegee and rubber roller our team uses for a smooth, professional install.
Dec-O-Art decals are built to last. Use these instructions to prepare the surface, check temperature, and apply your Dec-O-Art decals, Deco-Form, Deco-Lens labels, and pre-spaced graphics for the best adhesion and appearance.
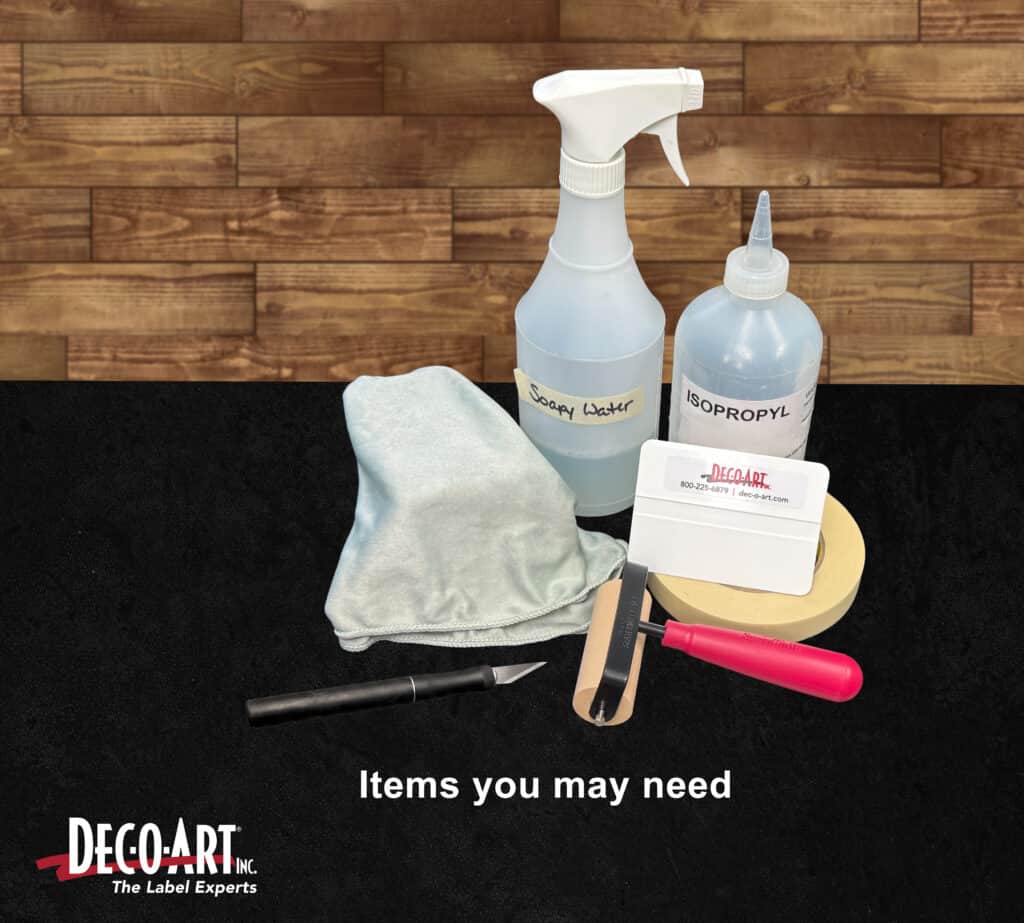
What you Need
- Decal
- Lint-free cloth
- Spray bottle with warm soapy water
- Masking tape (pre-space parts)
- Isopropyl alcohol
- Application squeegee and/or rubber roller
- Utility knife (if needed)
Before You Start
- Store decals flat in a clean, dry environment between 60° F and 100° F
- Surface temperature of the application area must be between 60° F and 100° F
- Hands must be clean
Shop Stocked Labels
Shop our online store for compliance labels for RV, trailer, marine, and manufactured housing.
Same Day Shipping on orders placed before 1:30 PM EST, M-F.
Surface Preparation
- Thoroughly clean the application area with warm soapy water, then isopropyl alcohol. Do not use solvents or ammonia-based cleaners, as they leave a residue that can affect adhesion.
- Dry the application area by wiping with a clean lint-free cloth or by letting it evaporate. Change the cloth at least every hour or when visibly soiled.
Application
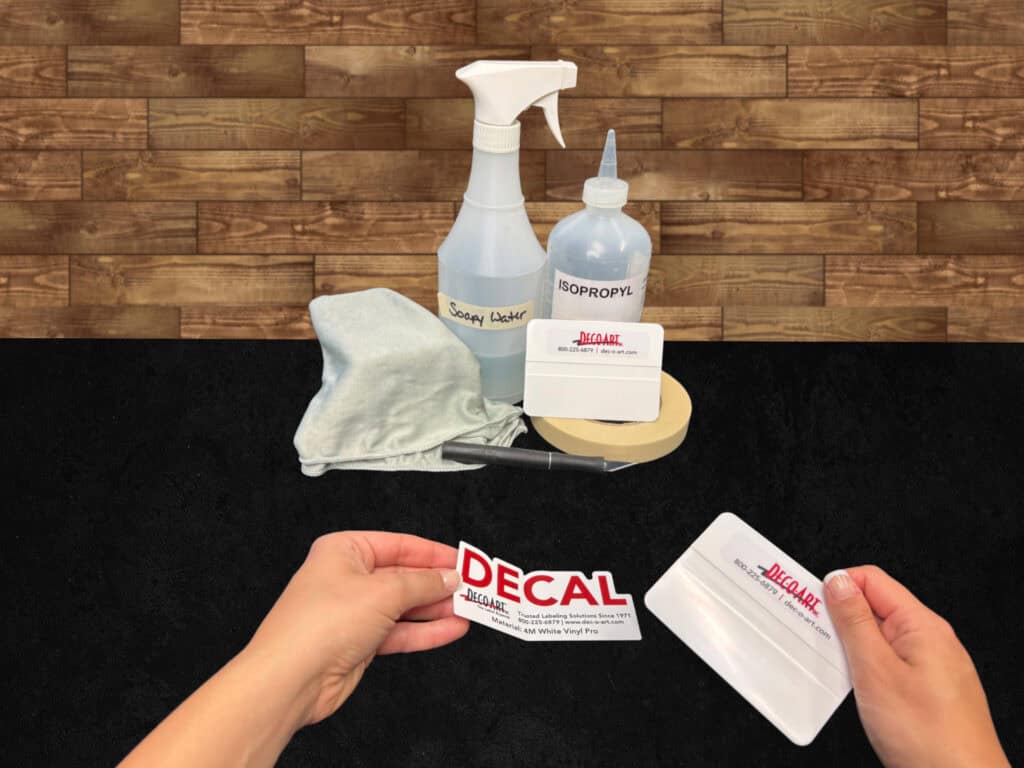
Decal
- Peel back a small strip of liner along one edge of the decal to expose the adhesive. If your decal has a slit liner, simply remove the smaller section.
- Position the decal and press the exposed edge onto the application area to anchor it in place.
- Starting at the anchored edge, hold a squeegee at a 45-degree angle with medium pressure. Push forward with one hand while you pull the liner back at a 180-degree angle (low and flat, folded back over itself) with the other hand.
- Gently push any bubbles out to the nearest edge. If a bubble remains, carefully pierce it with the tip of a utility knife and press the air out through the hole.
Testing Adhesion: Let the label sit on the surface for 24 hours before testing.
NOTE: Keep the area free of any production activity that could contaminate it between cleaning and application. We recommend installing decals indoors in a climate-controlled area.
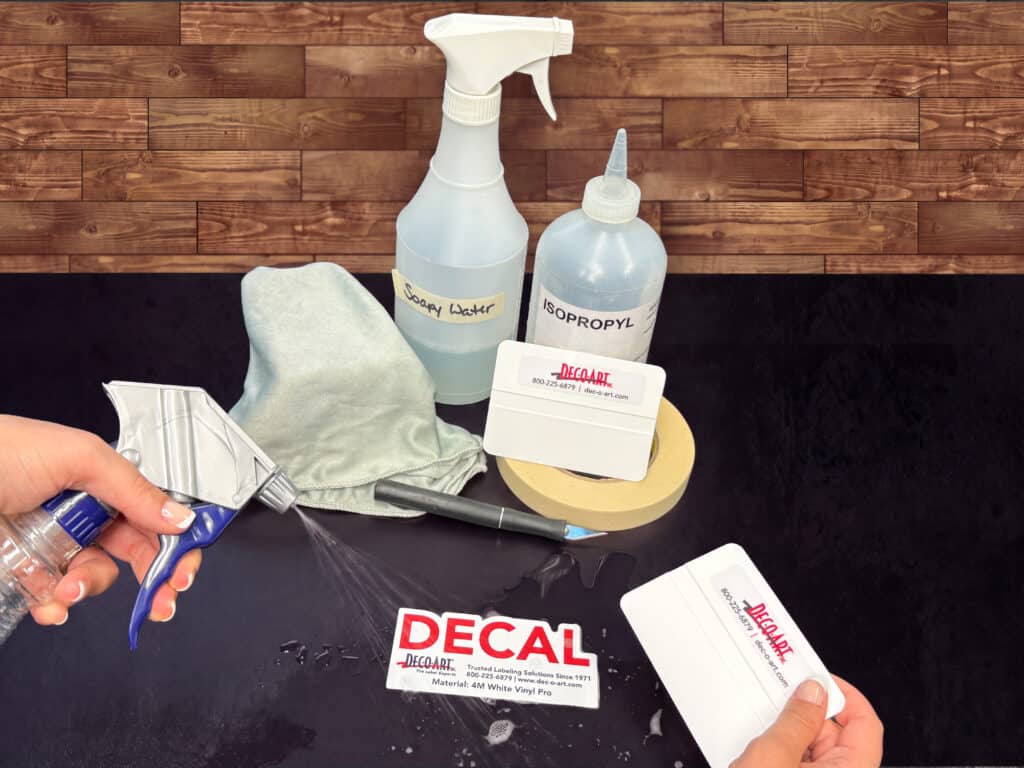
Decal with Wet Application
- Remove the liner from the back of the decal. Spray the warm soapy water mixture on the application area and on the adhesive side of the decal.
- Place the decal on the application area. Hold a squeegee at a 45-degree angle with medium pressure and push the soapy water out from under the decal until the area is dry. Allow the decal time to fully adhere.
- Gently push any bubbles out to the nearest edge. If a bubble remains, carefully pierce it with the tip of a utility knife and press the water or air out through the hole.
Testing Adhesion: Let the label sit on the surface for 24 hours before testing.
NOTE: Keep the area free of any production activity that could contaminate it between cleaning and application. We recommend installing decals indoors in a climate-controlled area.
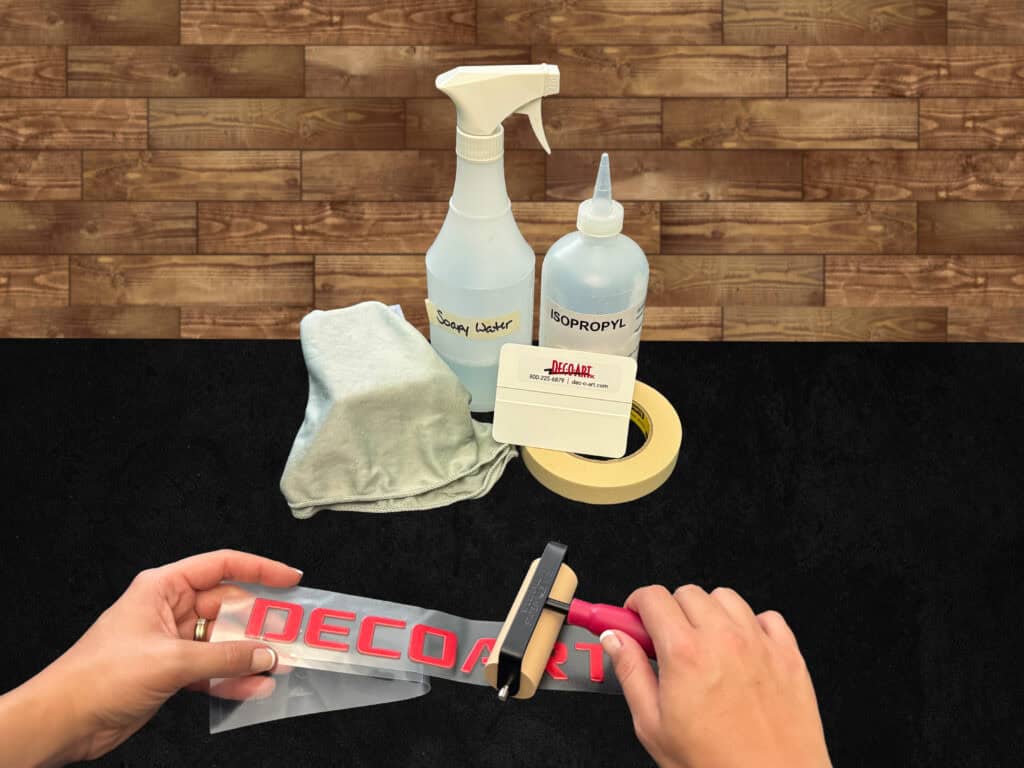
Deco-Form
- Place the decal adhesive side up on a flat surface and peel the liner off at a 180-degree angle, making sure all graphics stay attached to the transfer tape.
- Place the decal adhesive side down on the application area.
- Using medium pressure, roll a rubber roller across it to press the graphics onto the surface.
- Peel up one corner of the transfer tape and slowly pull it back at a 180-degree angle. If any graphics lift, press the transfer tape back down and try again.
Testing Adhesion: Let the label sit on the surface for 24 hours before testing.
NOTE: Keep the area free of any production activity that could contaminate it between cleaning and application. We recommend installing decals indoors in a climate-controlled area.
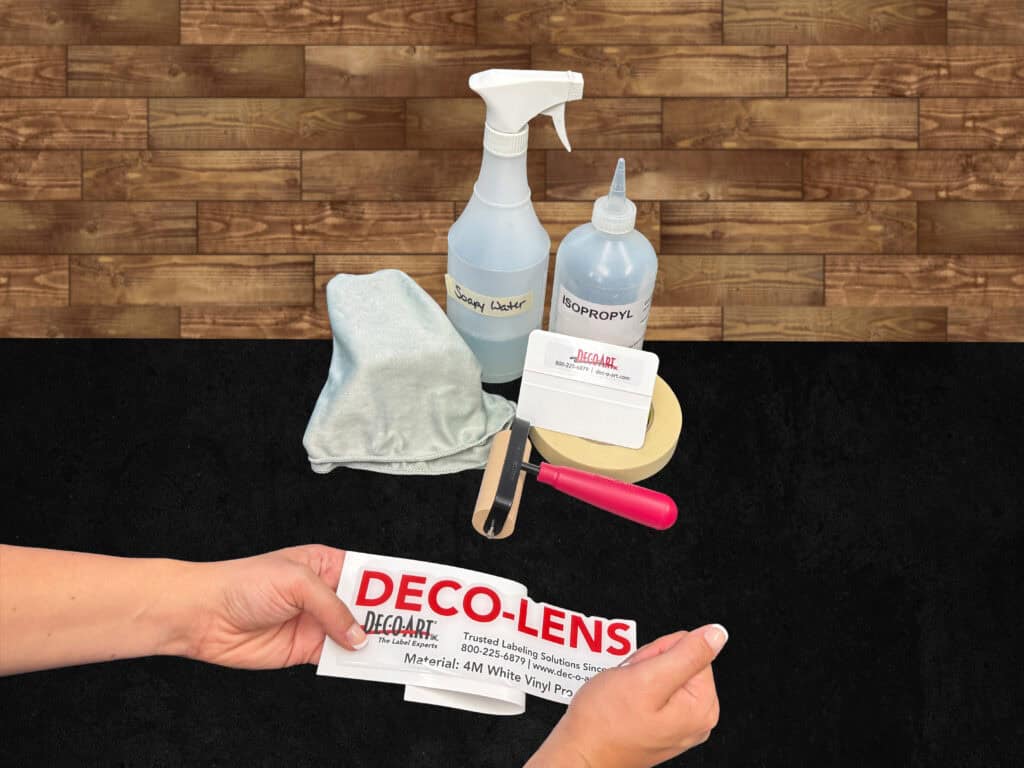
Deco-Lens
- Peel the liner from the back of the Deco-Lens.
- Position the Deco-Lens on the application area.
- Burnish the Deco-Lens to the surface by pressing firmly across the entire label, working from the center out to the edges. Do not use a squeegee.
Testing Adhesion: Let the label sit on the surface for 24 hours before testing.
NOTE: Keep the area free of any production activity that could contaminate it between cleaning and application. We recommend installing decals indoors in a climate-controlled area.
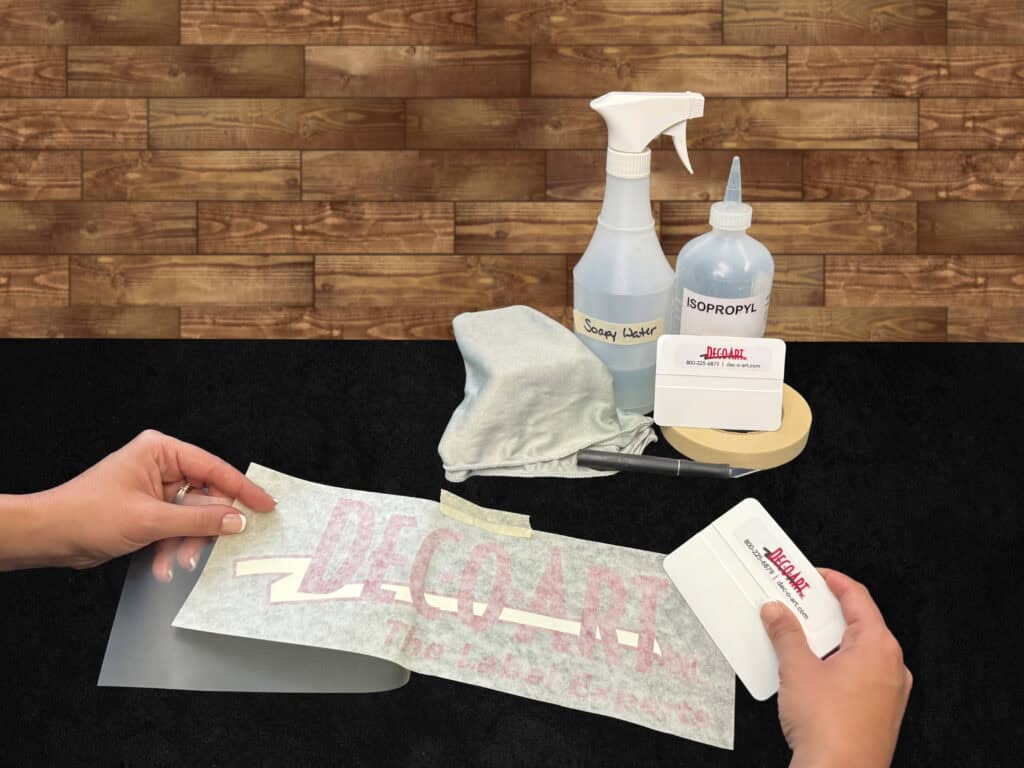
Pre-Space
- Place the decal adhesive side up on a flat surface and peel the liner off at a 180-degree angle, making sure all graphics stay attached to the transfer tape.
- Place the decal adhesive side down on the application area.
- Using medium pressure, push a squeegee across the transfer tape at a 45-degree angle to press the graphics onto the surface.
- Peel up one corner of the transfer tape and slowly pull it back at a 180-degree angle. If any graphics lift, press the transfer tape back down and try again.
- Gently push any bubbles out to the nearest edge. If a bubble remains, carefully pierce it with the tip of a utility knife and press the air out through the hole.
Testing Adhesion: Let the label sit on the surface for 24 hours before testing.
NOTE: Keep the area free of any production activity that could contaminate it between cleaning and application. We recommend installing decals indoors in a climate-controlled area.
Proud Members of Trusted Industry Associations


